7 Tips for Choosing a Water Flow Sight Glass
Selecting the right water flow sight glass is not simply a matter of choosing the clearest window. It is a practical decision involving pressure, temperature, fluid chemistry, pipe size, and maintenance access. In the field, a sight glass may look excellent during installation but become difficult to read after vibration, deposits, or poor lighting affect the process line. Small details matter.
This guide presents seven practical tips for evaluating a water flow sight glass before purchase. It considers viewing clarity, body materials, gasket compatibility, connection standards, pressure ratings, and cleaning requirements. It also highlights the value of checking supplier documentation instead of relying only on attractive product photographs. Reliable specifications should match the actual operating conditions, including flow direction and temperature changes. A stainless-steel body may suit demanding environments, while reinforced glass or borosilicate glass can provide useful visibility in other systems. The best choice depends on evidence.
Do not ignore installation realities. A sight glass installed too close to an elbow may create turbulence that makes flow interpretation uncertain. Poor alignment can also increase stress on seals. These issues are easy to overlook. My experience suggests that buyers should inspect sample units, review maintenance records, and ask direct questions about testing and replacement parts. No product is perfect. Even a well-rated model may fail when its limits are misunderstood. Careful comparison helps operators choose a water flow sight glass that remains readable, serviceable, and dependable over time.
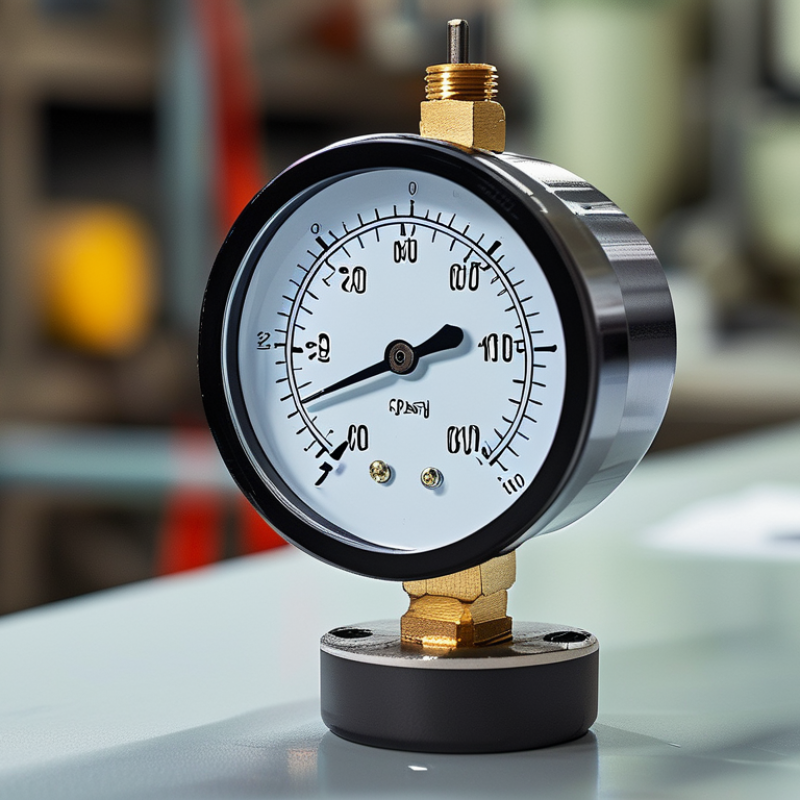
Define the Purpose and Operating Conditions
Before choosing a water flow sight glass, define what you need to observe. Are you checking continuous movement, confirming a pump is running, or detecting bubbles and contamination? Each purpose affects the viewing design, connection type, and installation position. A clear window may be enough for clean water. A drip indicator can provide better evidence of movement in a low-flow line.
Operating conditions require equal attention. Record the normal and maximum pressure, temperature, flow rate, and pipe diameter. Do not size the sight glass from pipe size alone. A sudden pressure increase can damage an under-rated viewing section. Water chemistry also matters. Treated water, seawater, and cleaning solutions may attack seals or transparent materials differently. Verify compatibility with the actual fluid, not a generic water label.
Check whether the unit must meet site codes, pressure-test requirements, and sanitation rules. Keep the viewing area visible from the operator’s normal position. Poor lighting can make a working line appear inactive. This happens more often than expected. Allow room for cleaning and gasket replacement. A compact installation may look efficient, but maintenance access is easily overlooked. Temperature changes can also fog the window or stress seals, so inspect the manufacturer’s rated limits against real operating data. Leave some margin. Estimates are convenient, yet they can hide peak conditions.
7 Tips for Choosing a Water Flow Sight Glass: Define the Purpose and Operating Conditions
Start by identifying the water service and its operating conditions. The chart shows representative temperature ranges commonly encountered in water systems. Select a sight glass with a pressure rating, temperature rating, window material, and connection type suitable for the highest expected operating condition, including possible start-up, shutdown, and cleaning conditions. Always verify the final specification against the equipment manufacturer's published limits.
Choose the Right Sight Glass Design and Viewing Method
7 Tips for Choosing a Water Flow Sight Glass
Choose the Right Sight Glass Design and Viewing Method
Start with the actual water conditions, including flow rate, pressure, temperature, and pipe diameter. A sight glass designed for clean water may fail in abrasive or chemically treated systems. Select a body material that suits the fluid and surrounding environment. Stainless steel often supports demanding installations, but compatibility must be verified through technical data.
Choose a full-bore design when uninterrupted flow matters. A narrow viewing area can hide bubbles, sediment, or unstable movement. Match the window size to the pipe and inspection distance. Visibility is the priority. For close inspection, direct viewing may be enough. For remote or hazardous areas, a camera provides safer access and records useful evidence. Good lighting matters more than many teams expect.
Add a drain, flushing port, or wiper when deposits are likely. These features can reduce maintenance time and prevent false readings. Protect the glass with suitable guards when impact is possible. One practical lesson from field checks is simple: operators often inspect from an awkward angle. Design the viewing point around real human movement, not only the drawing. I have also seen teams overselect accessories that were never used. Keep it practical. Verify pressure ratings, gasket materials, connection dimensions, and cleaning access before approval. A small mismatch can delay installation and weaken confidence in the reading.
Check Materials, Pressure Ratings, and Water Compatibility
7 Tips for Choosing a Water Flow Sight Glass
Check Materials, Pressure Ratings, and Water Compatibility
Choosing a water flow sight glass starts with the fluid, not the appearance. Confirm whether the line carries treated water, hot water, glycol mixtures, or mildly aggressive chemicals. Borosilicate glass offers strong thermal resistance, while stainless steel housings usually suit demanding industrial service. However, material compatibility depends on temperature, concentration, and cleaning chemicals. ASTM D543 testing is a useful reference for evaluating plastic components. Do not treat “water compatible” as a universal guarantee.
Check the maximum working pressure, temperature, connection size, and flow direction. ASME B16.5 pressure-temperature tables show that allowable pressure can fall as temperature rises. A sight glass rated for 1.6 MPa at room temperature may not keep that rating near boiling conditions. Include pressure surges and pump starts. They are often overlooked. Select a model with a visible viewing window, clear markings, and a drain or cleaning option. The U.S. EPA WaterSense program reports that household leaks can waste more than 1 trillion gallons annually, showing why early visual detection matters. Industrial losses can be costly too.
Inspect the gasket material carefully. EPDM may suit many water systems, while other fluids require a different elastomer. Verify certifications for potable-water contact when applicable. Ask for test records, pressure certificates, and traceable material data. During installation, avoid excessive torque on the glass.
I once assumed a thicker window meant better safety. That shortcut was wrong.
Design details, testing, and operating conditions matter more than appearance. Recheck the selection after real service data becomes available.
Compare Standards, Suppliers, and Long-Term Costs
Choosing a water flow sight glass starts with standards, not appearance. Confirm pressure, temperature, flange dimensions, and glass type against ASME B16.5 and applicable ASTM guidance. Borosilicate glass often handles thermal shock better than ordinary glass. Still, the process conditions decide the correct material. Ask for hydrostatic test records and traceable material certificates.
Supplier comparison should include more than unit price. Review ISO 9001 procedures, inspection frequency, gasket controls, and replacement availability. Request three years of quality data, if available. A supplier with clear nonconformance records may be more reliable than one showing only perfect charts. That detail matters. Also check lead times, technical support, and whether spare glass, seals, and guards can be shipped separately.
Long-term cost deserves a wider lens. The U.S. Department of Energy reports that pumping systems can represent 25–50% of industrial facility electricity use. A poorly selected sight glass can increase pressure loss, leakage risk, and inspection downtime. Compare cleaning intervals, seal life, energy impact, labor hours, and disposal costs. A cheaper assembly may become expensive after repeated shutdowns. I have found that maintenance teams sometimes overlook visibility after installation. That is a mistake worth challenging. Use a simple five-year cost table, then test its assumptions against real operating records.