Selecting a high pressure sight flow indicator is not a cosmetic decision. It affects process visibility, containment, maintenance, and operator confidence. A clear window means little if the body, gasket, or connection cannot withstand the actual service conditions.
“Pressure visibility must never replace pressure discipline,” says Dr. Michael R. Lenz, a process instrumentation specialist with decades of field experience. His warning is worth remembering. The indicator must match the maximum operating pressure, design temperature, fluid chemistry, flow direction, and piping standard. A unit that performs well with clean water may fail prematurely in hot oil, corrosive chemicals, or abrasive slurry.
This guide presents seven practical tips for choosing the right high pressure sight flow indicator. It examines pressure ratings, body materials, window construction, connection types, sealing systems, visibility aids, and inspection requirements. Each choice should be checked against the manufacturer’s datasheet and the site’s operating records.
Small details matter. A poorly positioned indicator can hide slow flow behind a pipe support. A weak gasket can leak after repeated thermal cycling. An oversized window may also create unnecessary cost and installation space.
Field experience teaches humility. Specifications can be correct, yet the installation can still be wrong. That is why selection should include maintenance access, lighting, vibration, pulsation, and future process changes.
No single model suits every plant. The best decision comes from comparing verified data with real operating conditions. When uncertainty remains, consult the manufacturer or a qualified engineer before purchasing.
Choosing a high pressure sight flow indicator begins with accurate operating data. Define the required pressure, temperature, and flow conditions before comparing designs. Record normal, minimum, and maximum pressure values. Include startup surges, pump trips, and possible water hammer. A line rated for 16 bar may experience higher short-term pressure. Short pulses matter. Specify the design pressure above the highest credible surge, not merely the usual gauge reading.
Temperature affects more than the process fluid. It also influences seals, gaskets, window materials, and housing strength. Note continuous temperature, brief excursions, and ambient conditions around the pipe. A hot fluid can expand during isolation, creating unexpected pressure. I have seen specifications list only the fluid temperature and ignore nearby furnace heat. That oversight can distort the selection. Use verified process records when available, then review the limits with a qualified engineer and the applicable piping code.
Flow conditions need equal attention. State the minimum, normal, and maximum flow rates, along with fluid viscosity, density, cleanliness, and gas content. A narrow viewing area may look clear at high flow but fail to show slow movement. Excessive velocity can cause vibration, flashing, or rapid wear. Check the indicator’s pressure drop at the actual flow range. If the process changes seasonally, size the unit for the full operating envelope. Leave room for uncertainty, but avoid guessing. A conservative estimate should still be traceable to measurements, calculations, or documented process experience.

Choosing suitable materials starts with the fluid, pressure, and temperature—not appearance. A stainless steel body suits many clean process fluids and resists external corrosion. Carbon steel may work in dry, controlled systems, but moisture can quickly expose weak points. For aggressive chemicals or elevated temperatures, an alloy body may offer better reliability. Always check the pressure rating at the actual operating temperature. Ratings shown at room temperature can mislead.
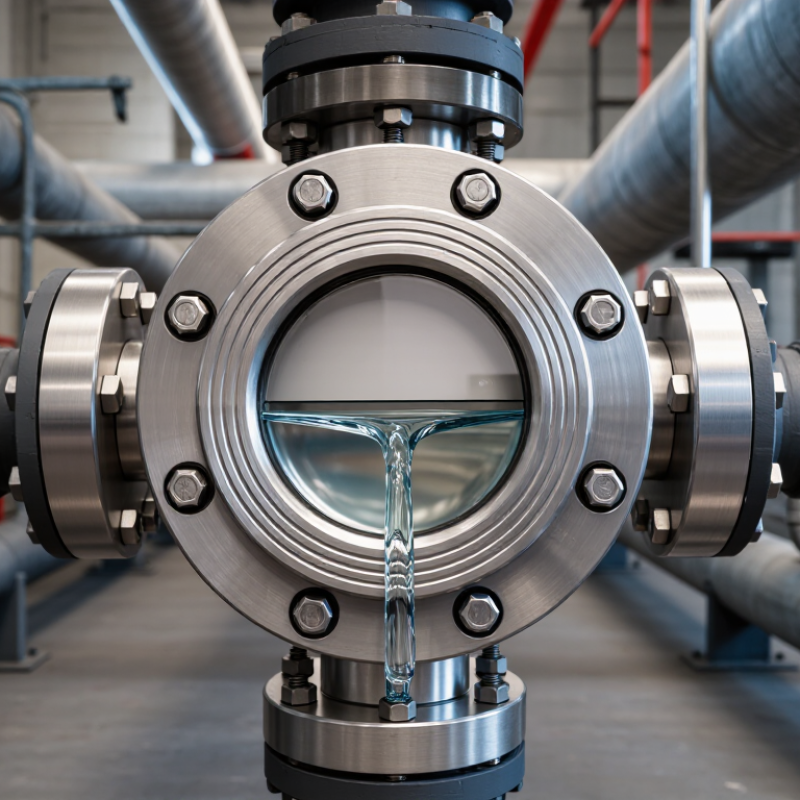
The window needs more than clear visibility. Tempered borosilicate glass handles thermal changes better than ordinary glass. Confirm its pressure rating, impact resistance, and compatibility with the process fluid. A narrow window may restrict viewing, while a large window can increase mechanical stress. I have seen installations where visibility was excellent, but the glass specification was overlooked. That was an expensive lesson.
Seal selection deserves equal attention. PTFE resists many chemicals, but it can lose performance under certain loads and temperatures. Graphite suits some hot services, while elastomers require careful checks for swelling, hardening, and chemical attack. Match the seal to cleaning agents too. A process may be mild, yet its cleaning cycle may be harsh. Review material certificates, pressure tests, temperature limits, and inspection records before approval. Do not rely on a familiar material without checking the complete operating range.
Choosing a high pressure sight flow indicator starts with the piping, not the viewing window. Confirm the connection type, size, facing, and pressure class against the line specification. Threaded, flanged, and welded ends are not interchangeable in the field. Allow no guesswork. Measure the actual mating dimensions before ordering. Match the nominal bore carefully. An undersized passage can create pressure loss, while an oversized body may reduce flow visibility.
Pressure rating needs more than one number. Check the rated pressure at operating temperature, not only at ambient conditions. Review pressure cycling, surge, vacuum exposure, and the selected gasket or seal material. Verify the weakest component. Wetted materials must suit the process fluid and cleaning method. Corrosion may begin where the glass still looks perfectly clear. Specify a temperature rating with a practical safety margin. Too much conservatism raises cost; too little invites failure.
Visibility also depends on installation. Provide straight, accessible pipe runs when the process allows. Poor alignment can hide flow changes or collect solids near the window. Ask for inspection records, pressure tests, and traceable material documents.
I once chose by pressure class alone, and maintenance access became the costly mistake. That decision looked reasonable on paper. Field conditions were less forgiving. Have operators review the sight line before purchase.
Tip 1: Choose visibility for the real process, not the showroom. A high pressure sight flow indicator should provide a clear view through a guarded window. Strong contrast helps operators identify bubbles, foam, color changes, or intermittent flow. The view must remain useful from the normal walking position. A perfect glass surface is not enough.
EEMUA Publication 191 recommends fewer than one alarm every ten minutes during stable operation. This reinforces a practical point: visual indication should reduce unnecessary alarm dependence. Select a local indicator that communicates flow status without demanding constant screen checks. Consider the fluid temperature, opacity, velocity, and expected pressure pulsation. These details are often missed.
Tip 2: Treat lighting as part of the instrument. IEC 60529 ingress ratings can guide enclosure selection near washdown areas. Use protected illumination where shadows, condensation, or nighttime work can hide the viewing window. Avoid glare from overhead lamps. A small angle change can matter. Tip 3: Match indication features to decisions. A simple rotating device may confirm movement, while a dual-window design can show direction more clearly. Add a switch or transmitter only when the control system needs remote confirmation. EEMUA 191 also warns that excessive signals can overwhelm operators. More indication is not always better. Recheck the design after installation; field reflections often expose assumptions that drawings cannot.
Reference illuminance levels for selecting visibility and lighting features
Higher illuminance supports faster recognition of liquid movement, color changes, bubbles, and flow interruptions. Use lower levels for general observation and higher levels for detailed or critical inspection. Final selection should also verify pressure rating, temperature range, window material, seal compatibility, viewing distance, and the required indication feature, such as a rotor, flapper, drip tube, or illuminated scale.
The values shown are common reference illuminance levels used for workplace visual tasks; confirm the applicable lighting standard and process-specific requirements before installation.
Check pressure ratings, temperature limits, flange dimensions, and material compatibility. A unit rated for pressure alone may still fail under heat, vibration, or corrosive fluid. Request traceable material certificates and clear inspection records. My early checklists were too general, and that caused avoidable questions during installation.
Ask how the body, glass, seals, and connections were tested. Hydrostatic testing, leak checks, and visual inspection should follow documented procedures. Confirm that test results match the actual operating conditions. Look for readable markings on the device. Small details matter.
Select a design that allows safe cleaning, glass replacement, and seal inspection. Ask about recommended inspection intervals and spare-part availability. A reliable supplier should provide drawings, manuals, operating limits, and technical responses without vague promises. Support after delivery is important, especially when flow becomes cloudy or the viewing window shows deposits. Keep records of inspections, pressure changes, and replaced parts. This step is sometimes neglected. Mistakes can happen when maintenance responsibility is unclear.